Configuring Okta
Before configuring Okta, you have to initiate SSO setup in avasda.
-
Sign in to your Okta Admin console as an Admin
-
Go to Applications
-
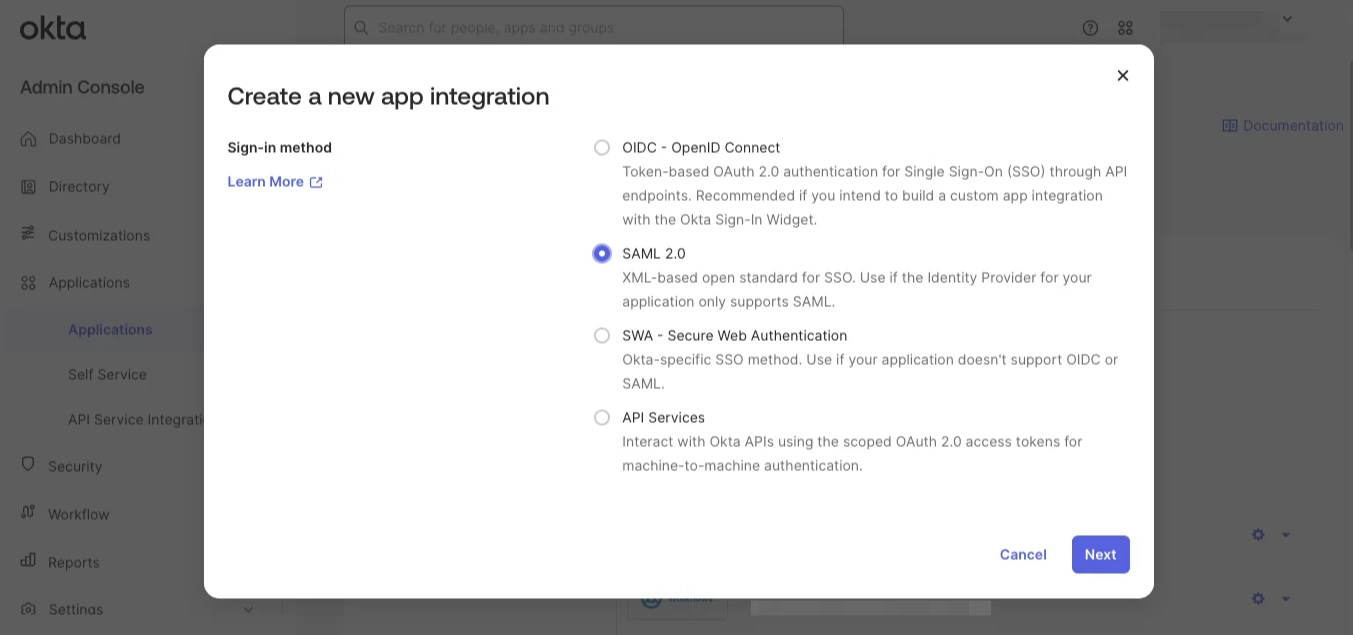
Click the blue Create App Integration button, pick SAML 2.0 and click Next
-
Put "avasda" in the App name field, optionally upload a logo and click Next

-
Put Single sign-on URL and Audience URI obtained when Initiating SSO Setup in avasda in respective inputs, leave Name ID format as "Unspecified", Application username set to "Okta username" and Update application username on to "Create and update."
-
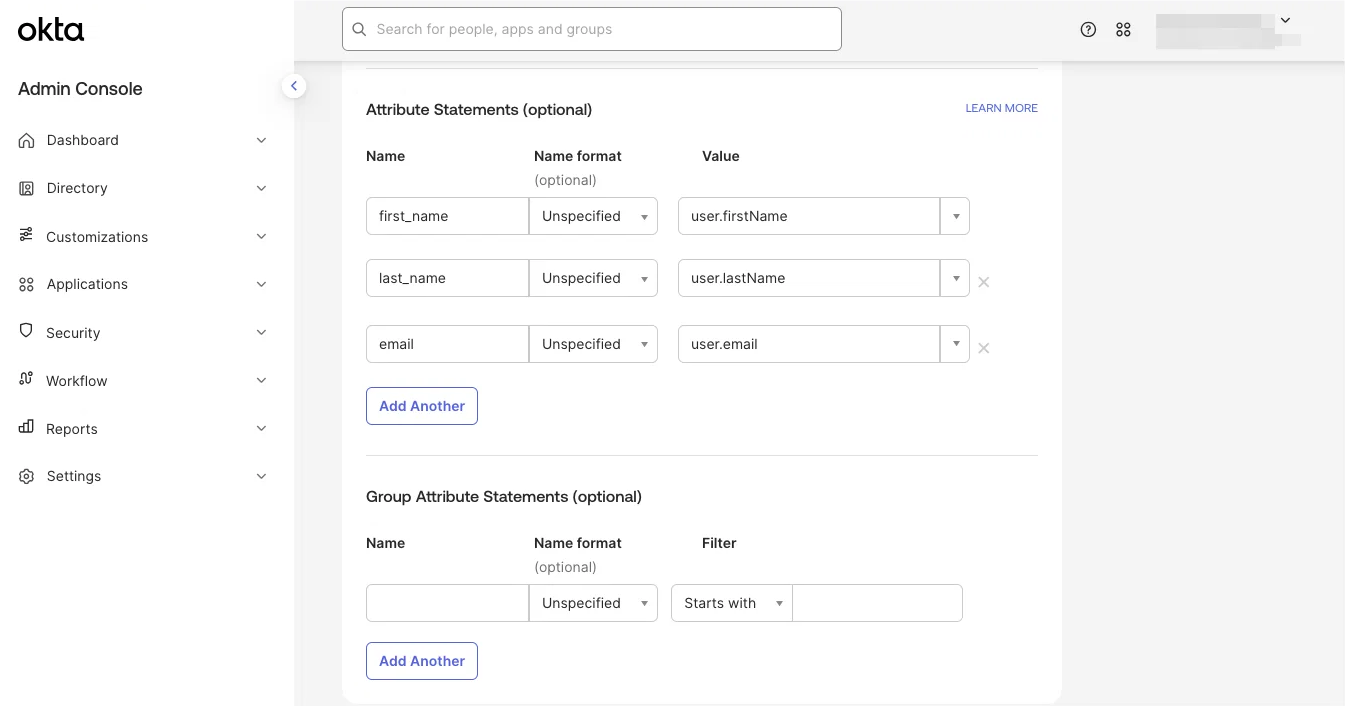
Scroll down to Attribute Statements, click Add Another two times and set the following mappings:
first_name:user.firstNamelast_name:user.lastNameemail:user.email
The configured attributes should look like below:
-
Scroll down and click Next
-
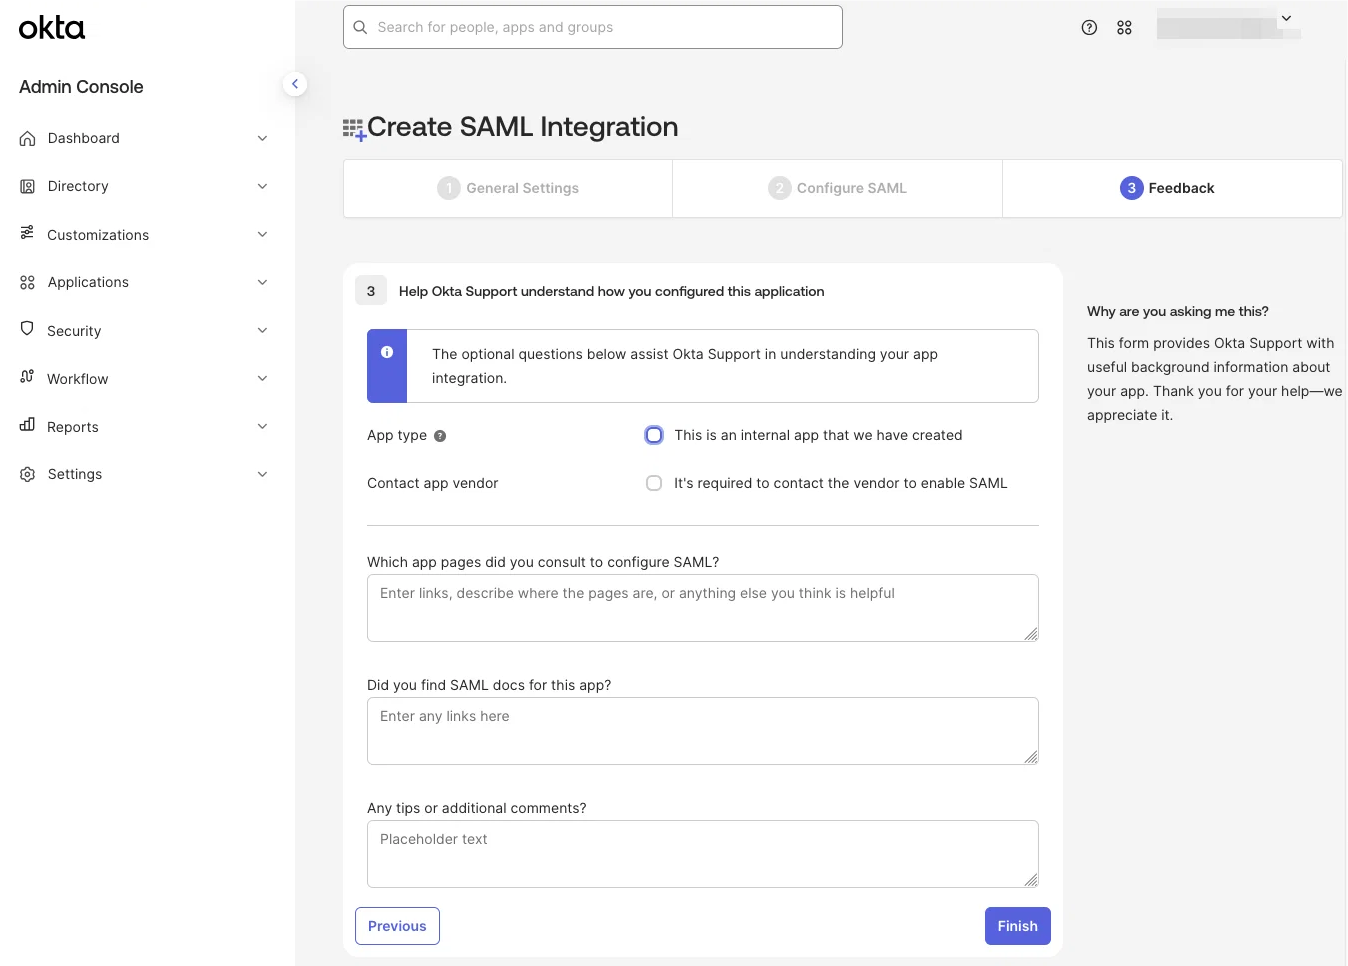
Click Finish in the final setup wizard step
-
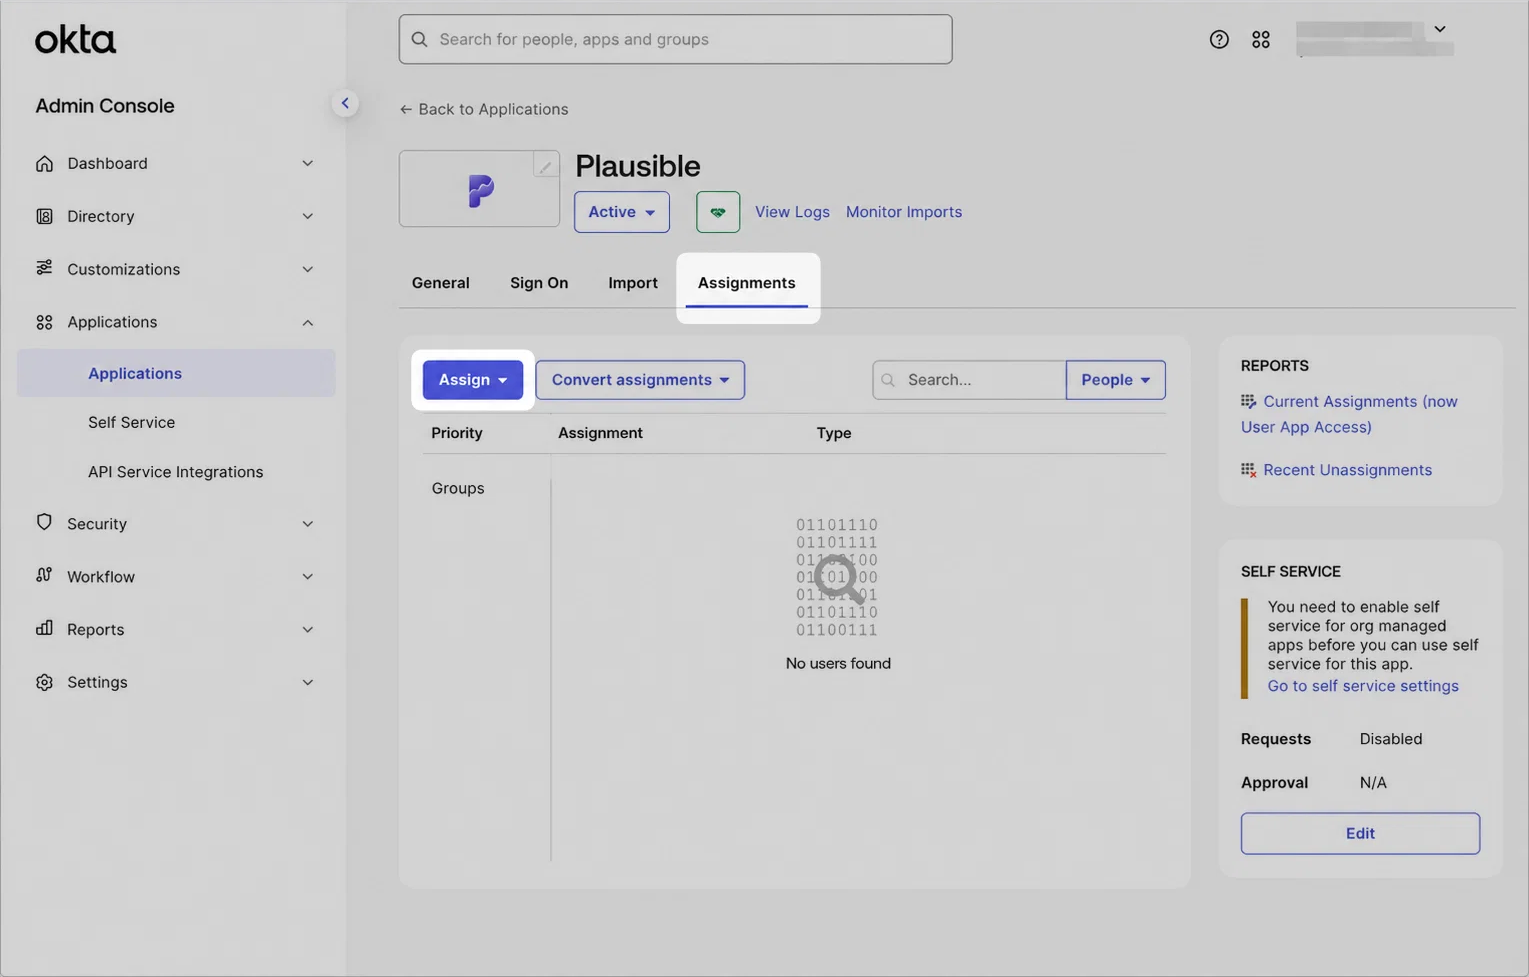
Go to Assignments tab and give People or Groups access to avasda
-
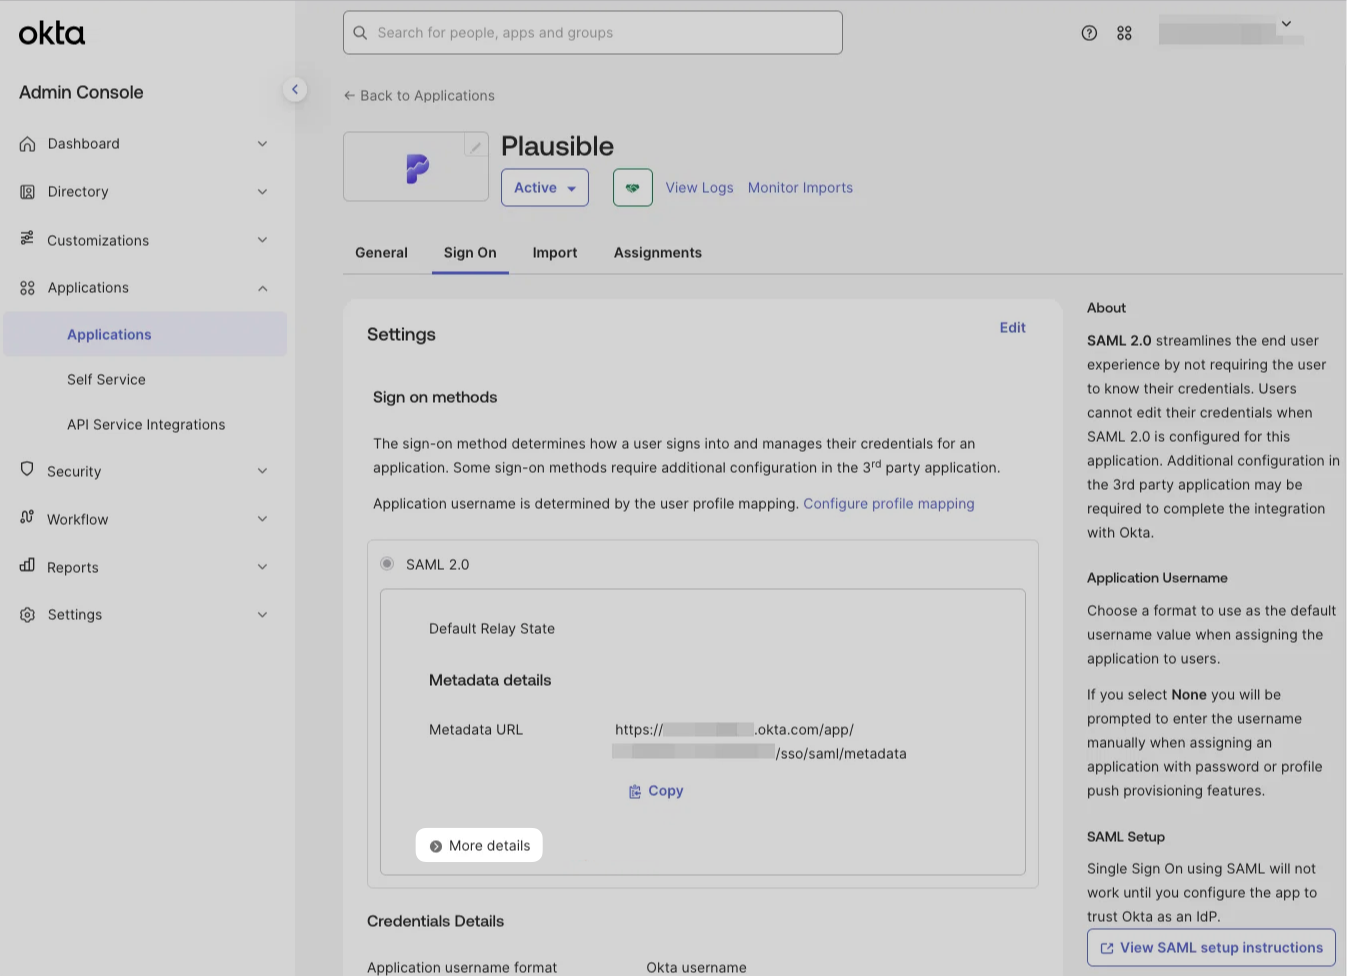
Go back to Sign On tab and click More details under SAML 2.0 settings
-
Keep this page open while moving on to Finishing SAML SSO Setup in avasda.