Configuring Google Workspaces
Before configuring Google Workspaces, you have to initiate SSO setup in avasda.
-
Sign in to your Google Workspace Admin console as an Admin
-
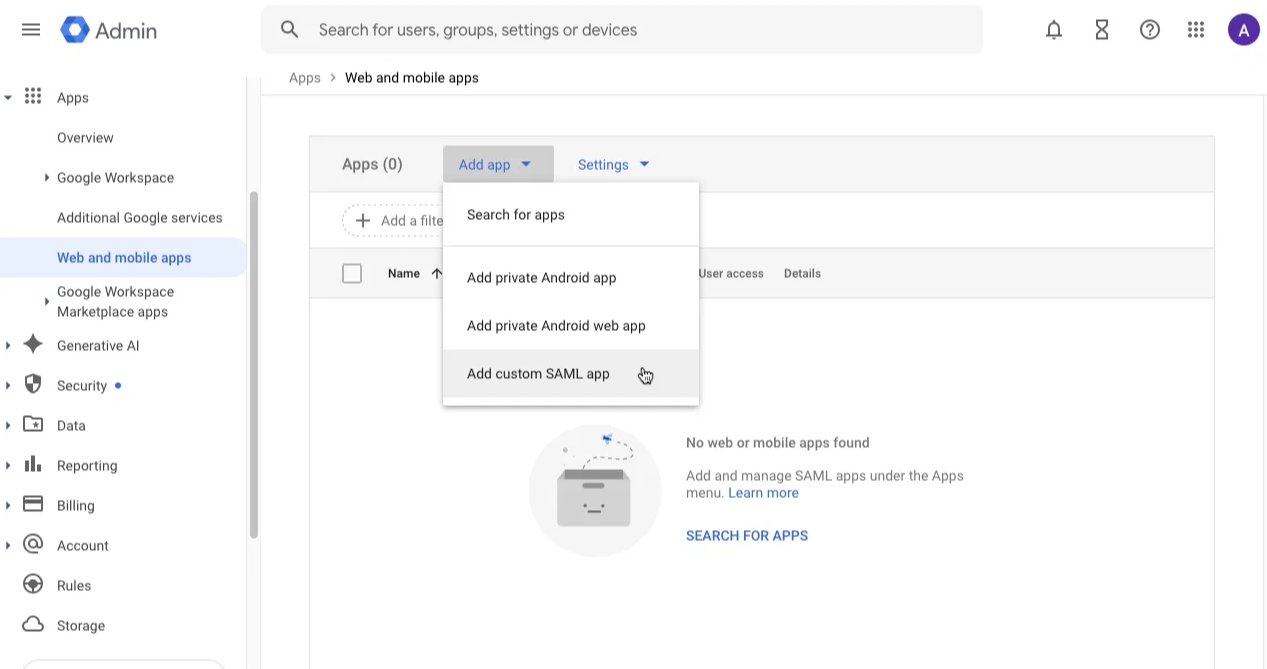
Go to Apps > Web and mobile apps
-
Click Add app > Add custom SAML app
-
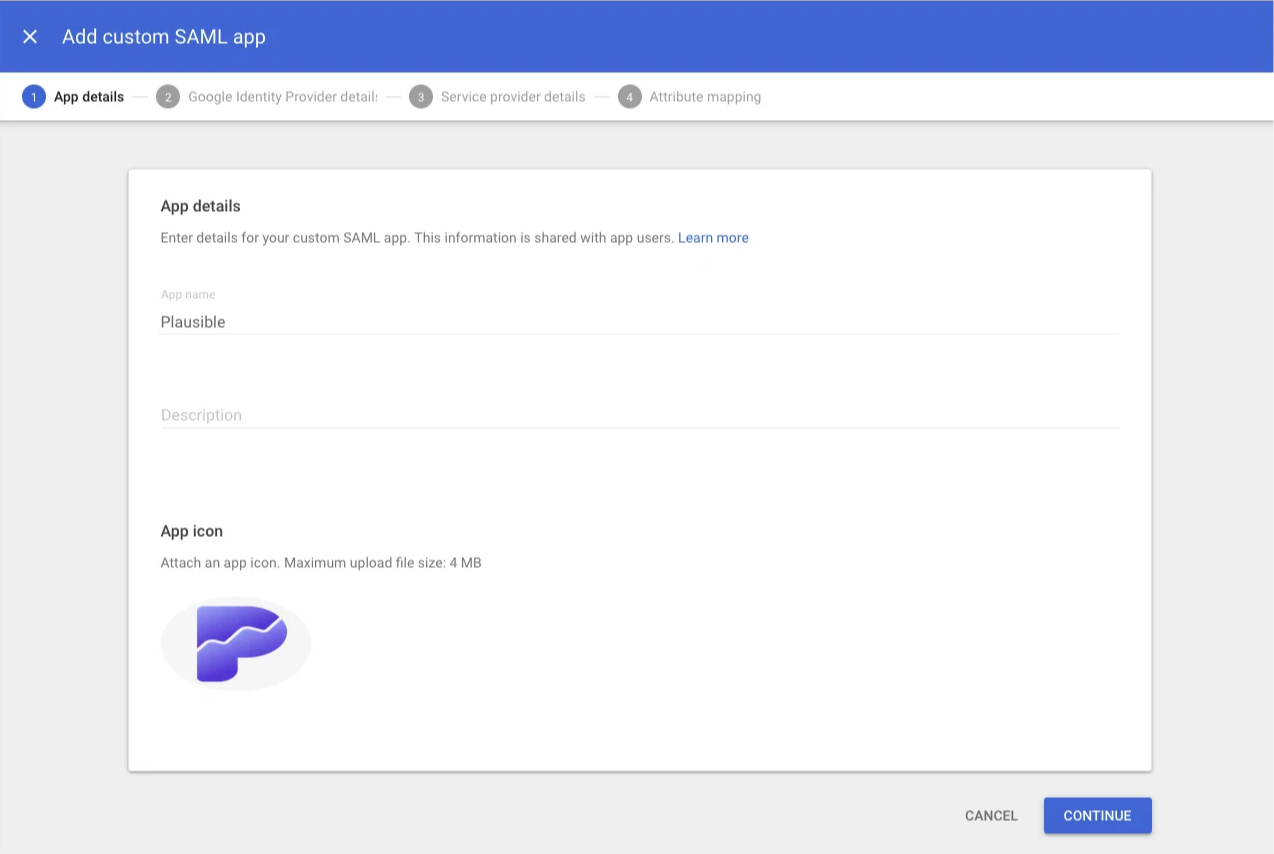
Put "avasda" in the App name field, optionally upload a logo and click Continue.
-
Skip the next step by clicking Continue again
-
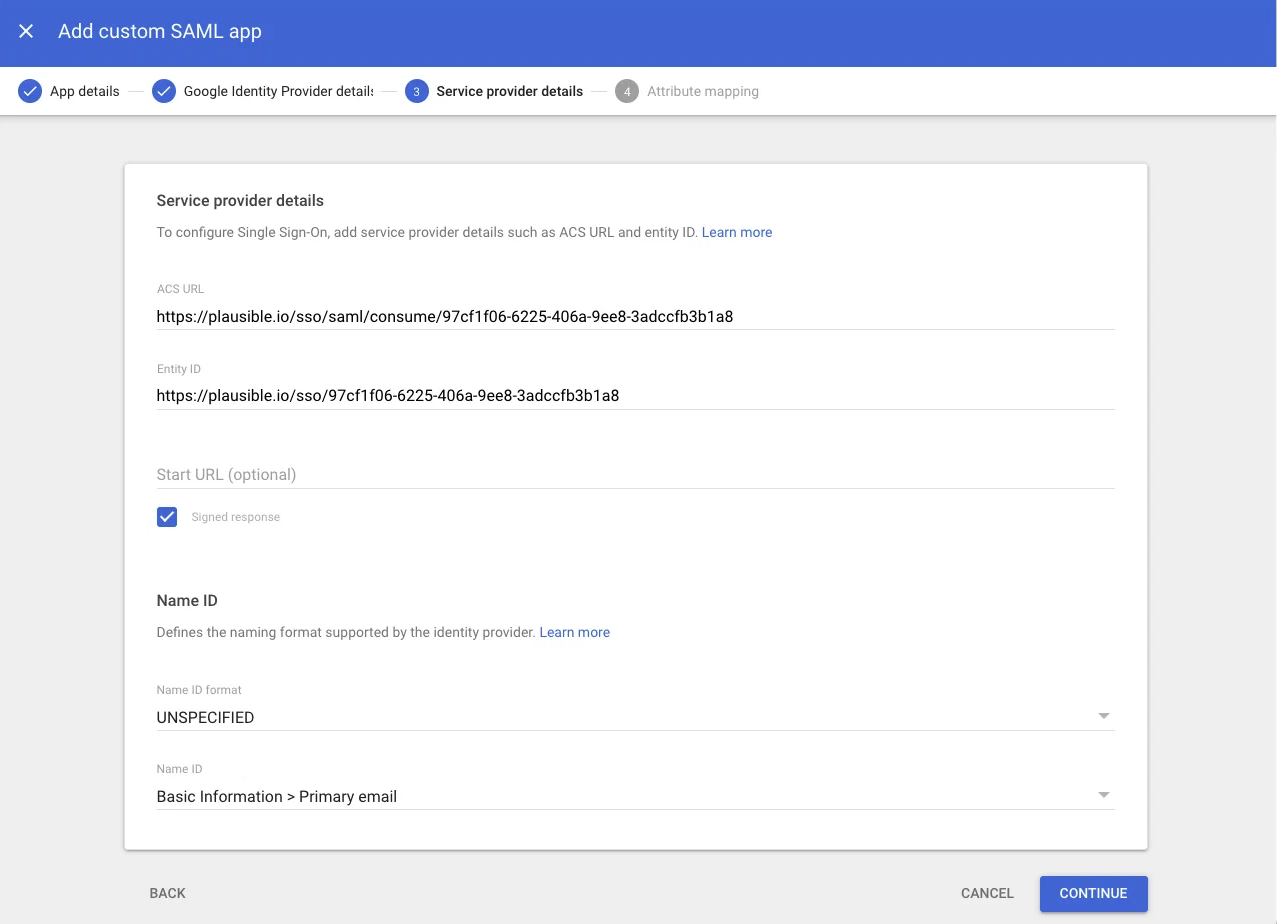
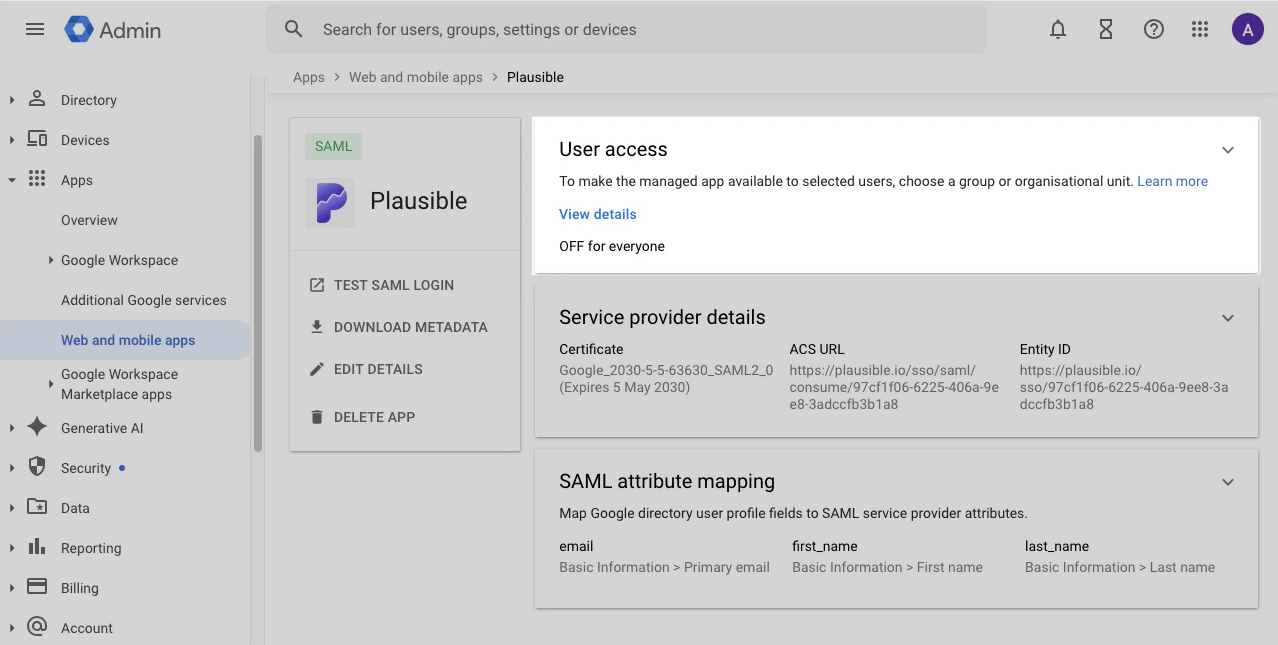
Put ACS URL and Entity ID obtained when Initiating SSO Setup in avasda in respective inputs, tick Signed response checkbox, leave Name ID configuration as is (format should be "Unspecified" and NameID should be "Basic Information > Primary email") and click Continue.
-
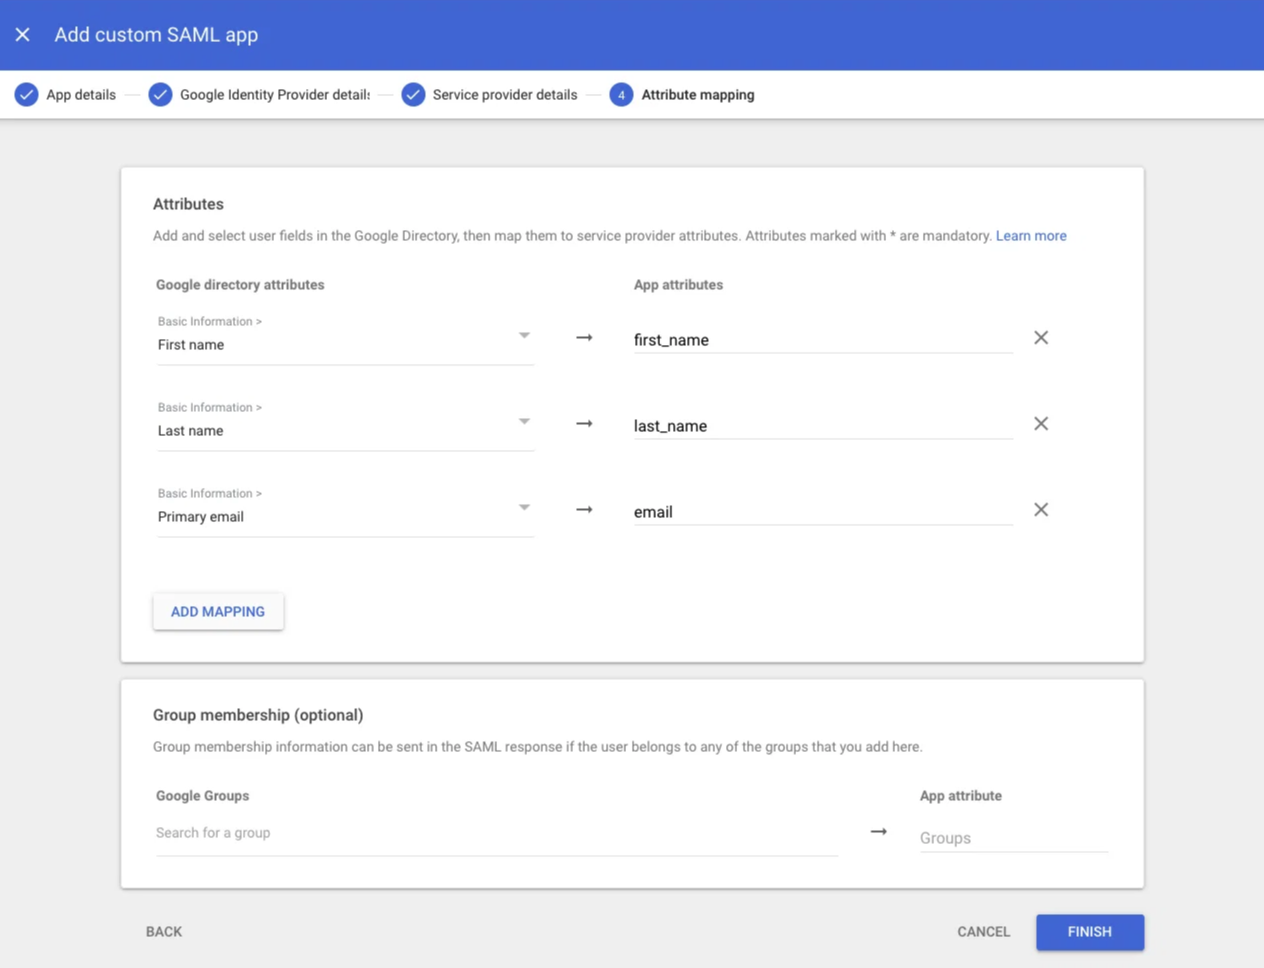
Click Add mapping three times and set the following mappings:
- Basic Information > First name:
first_name - Basic Information > Last name:
last_name - Basic Information > Primary email:
email
The configured attributes should look like below:
- Basic Information > First name:
-
Click Finish
-
Click on User access card
-
Either pick ON for everyone or enable access for select groups and click Save
-
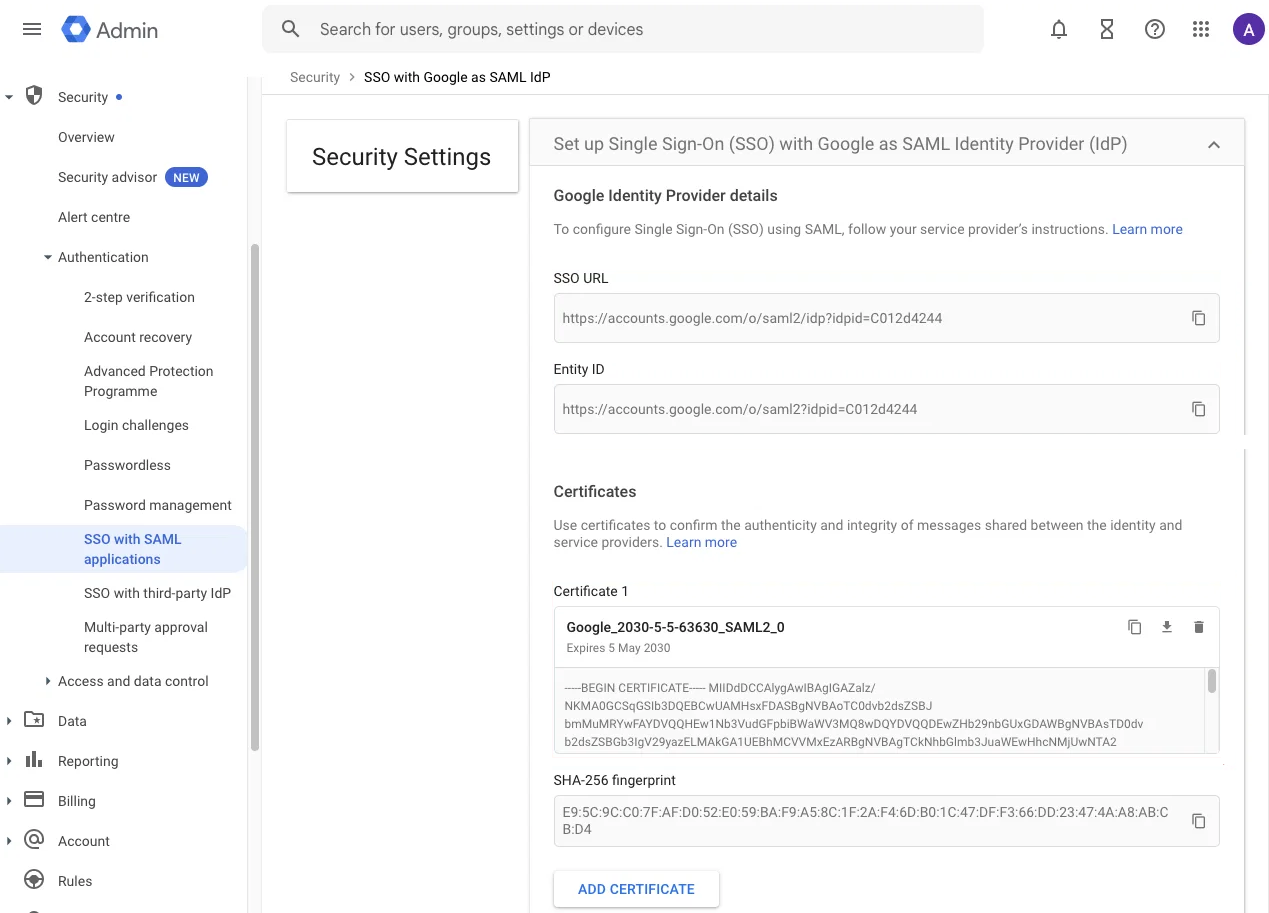
Go to Security > Authentication > SSO with SAML applications
-
Keep this page open while moving on to Finishing SAML SSO Setup in avasda.