Configuring Microsoft Entra (Azure)
Before configuring Microsoft Entra, you have to initiate SSO setup in avasda.
-
Sign in to your Microsoft Entra admin center as an Admin
-
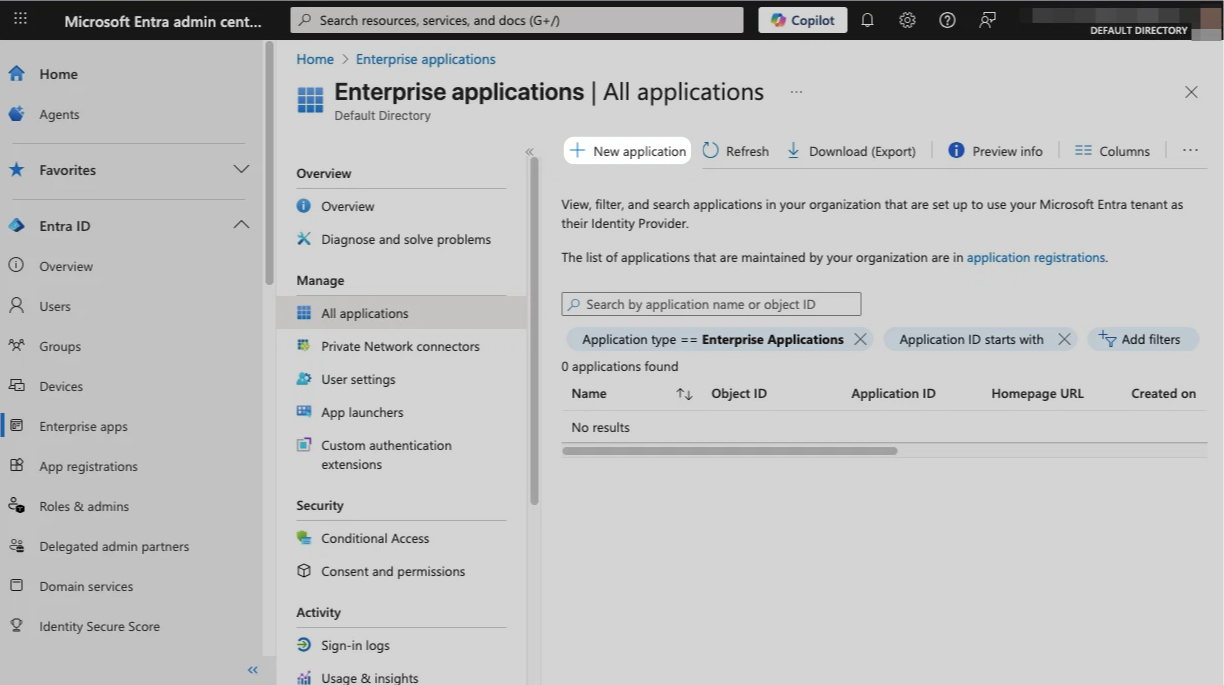
Go to Enterprise apps
-
Click New Application
-
Click Create your own application
-
Put "avasda" in the Input name field, pick "Integrate any other application you don't find in the gallery" and click Create.

-
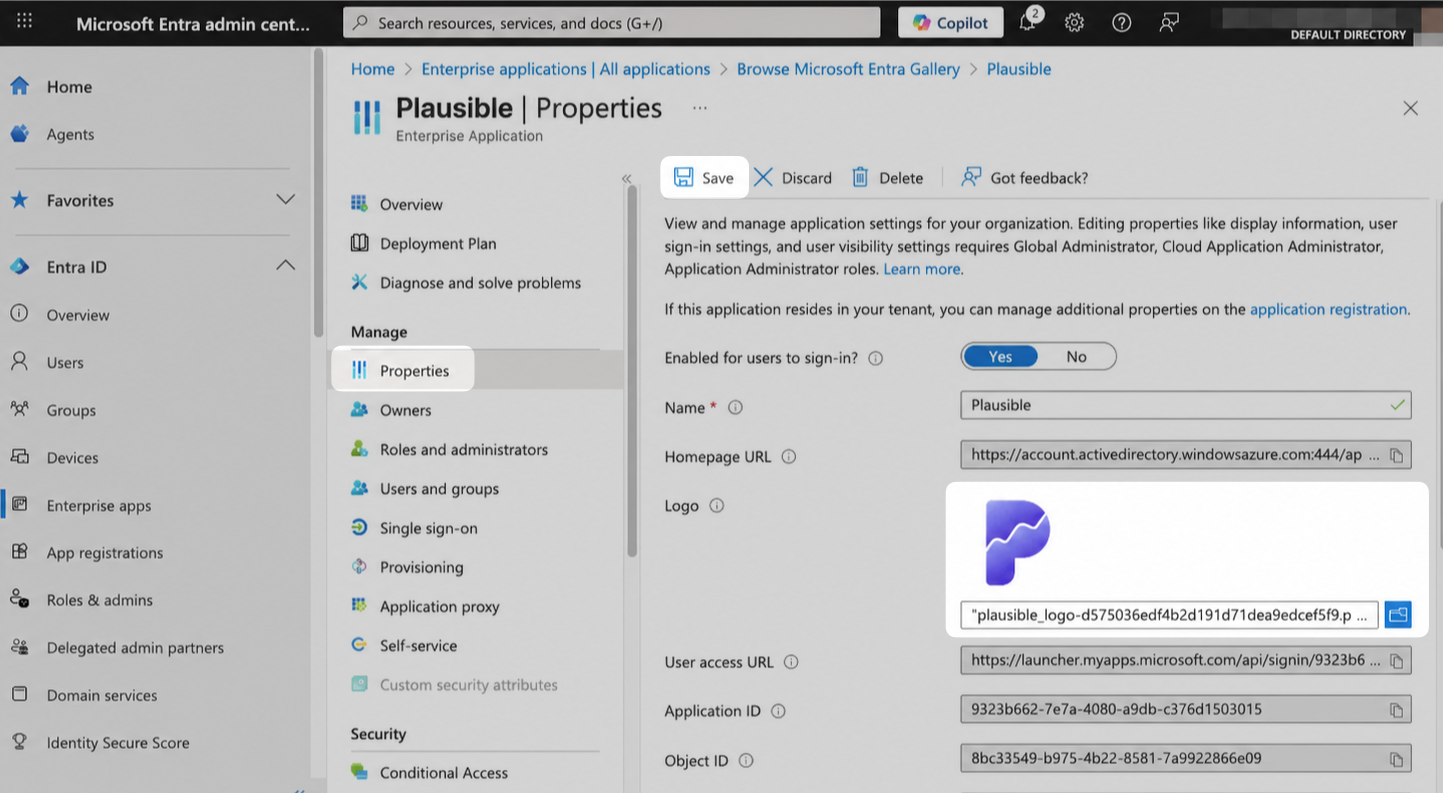
(Optional) Go to Properties, upload a logo and click Save
-
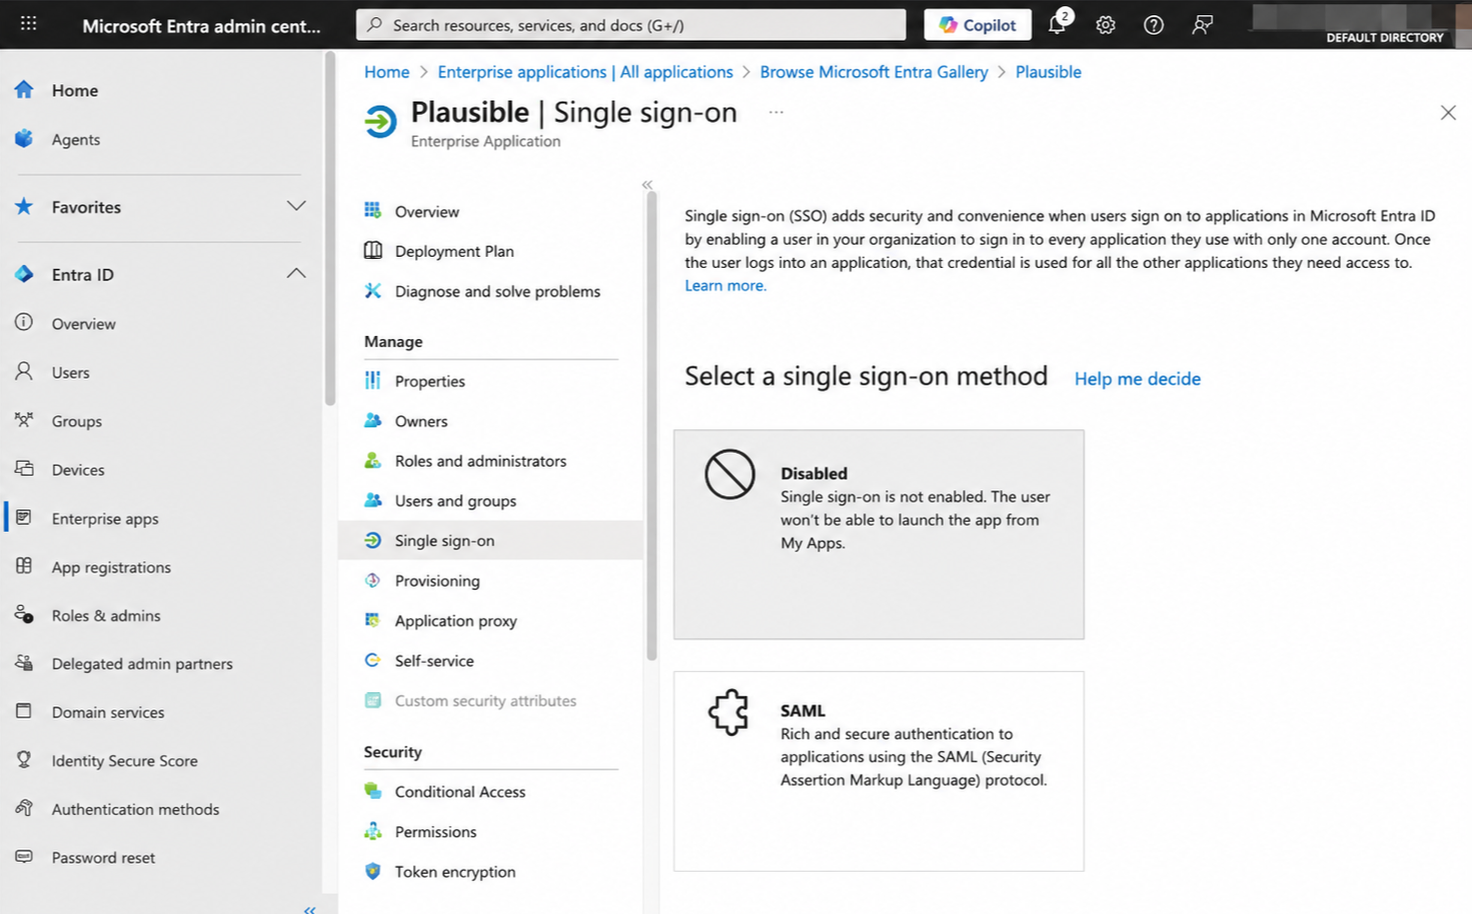
Go to Single sign-on and click SAML
-
Click Edit next to Basic SAML Configuration
-
Click Add identifier and enter Identifier obtained when Initiating SSO Setup in avasda.
-
Click Add reply URL and enter Reply URL obtained when Initiating SSO Setup in avasda and click Save.

-
Go to Single sign-on and click Edit next to Attributes & Claims
-
Click on emailaddress claim, and in the form that appears, change Name to
email, clear Namespace input, leave Source intact and click Save.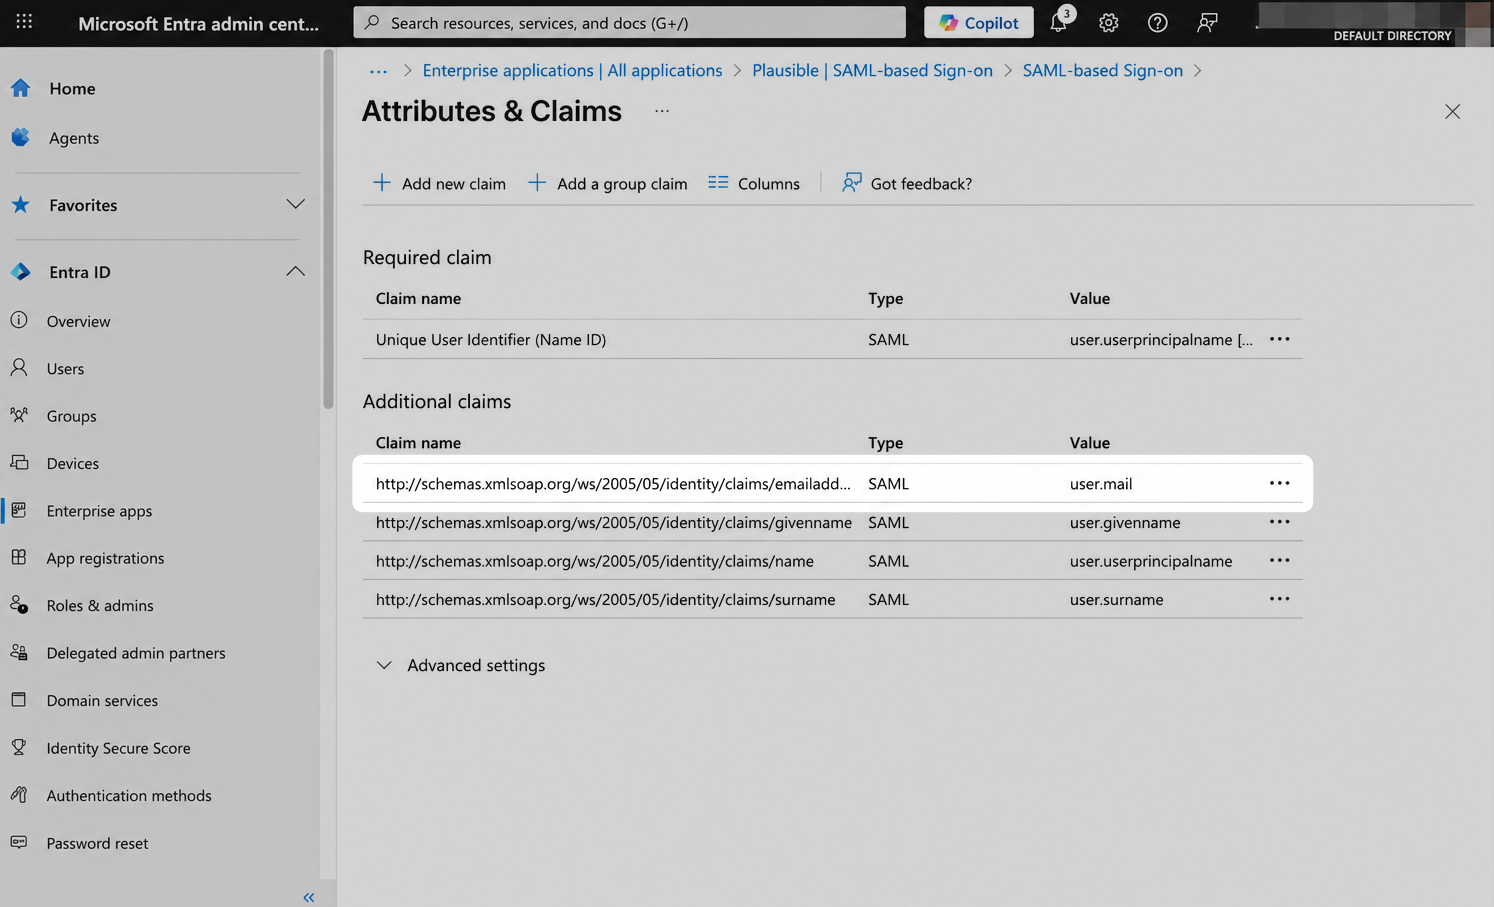
-
Repeat the same change for
givenname, changing Name tofirst_nameand forsurname, changing Name tolast_name. Remember to clear Namespace input. -
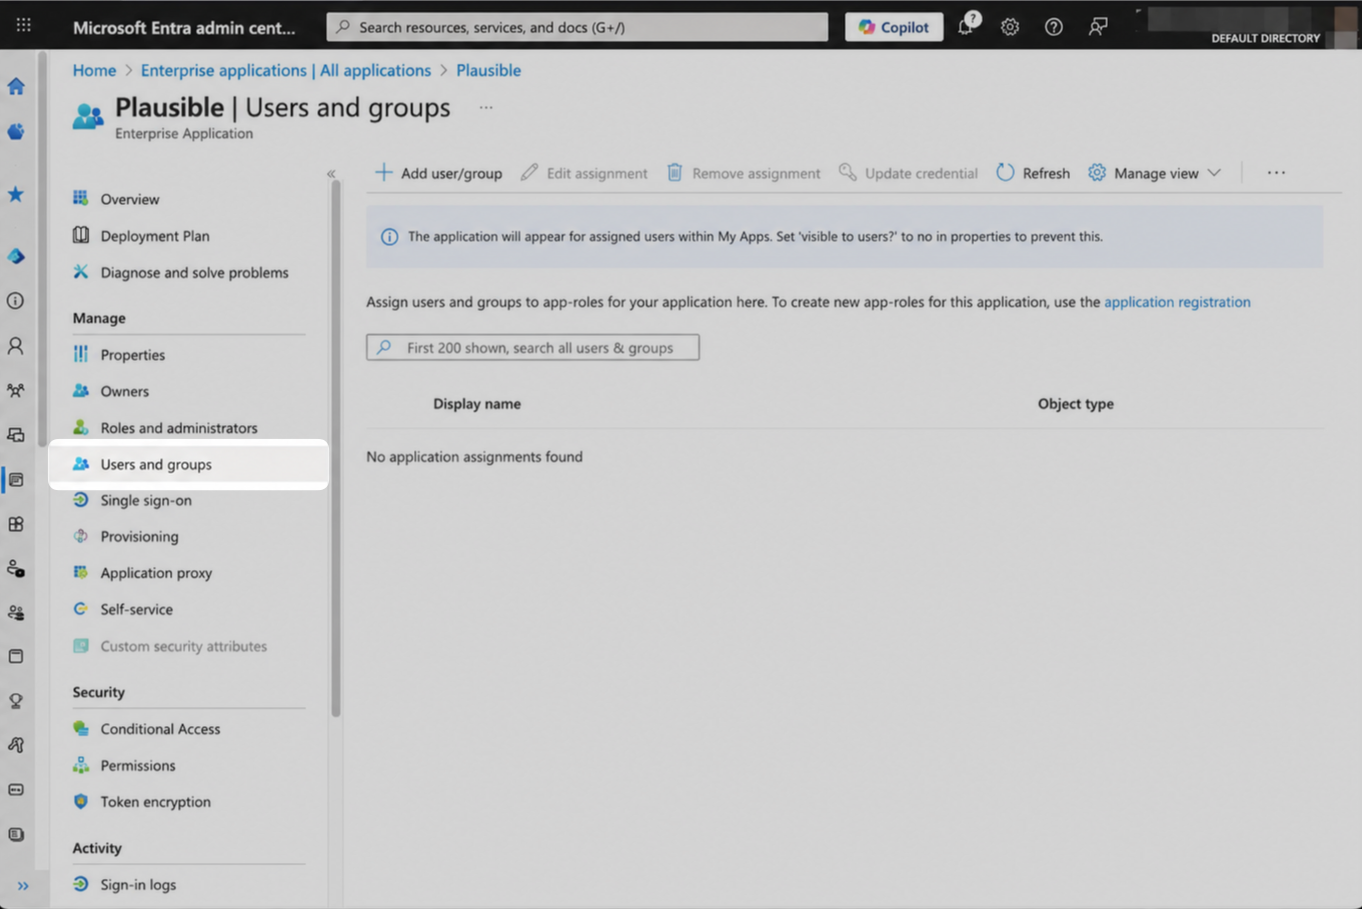
Go to Users and groups to give access to avasda to relevant users
-
Go back to Single sign-on and keep this page open while moving on to Finishing SAML SSO Setup in avasda.